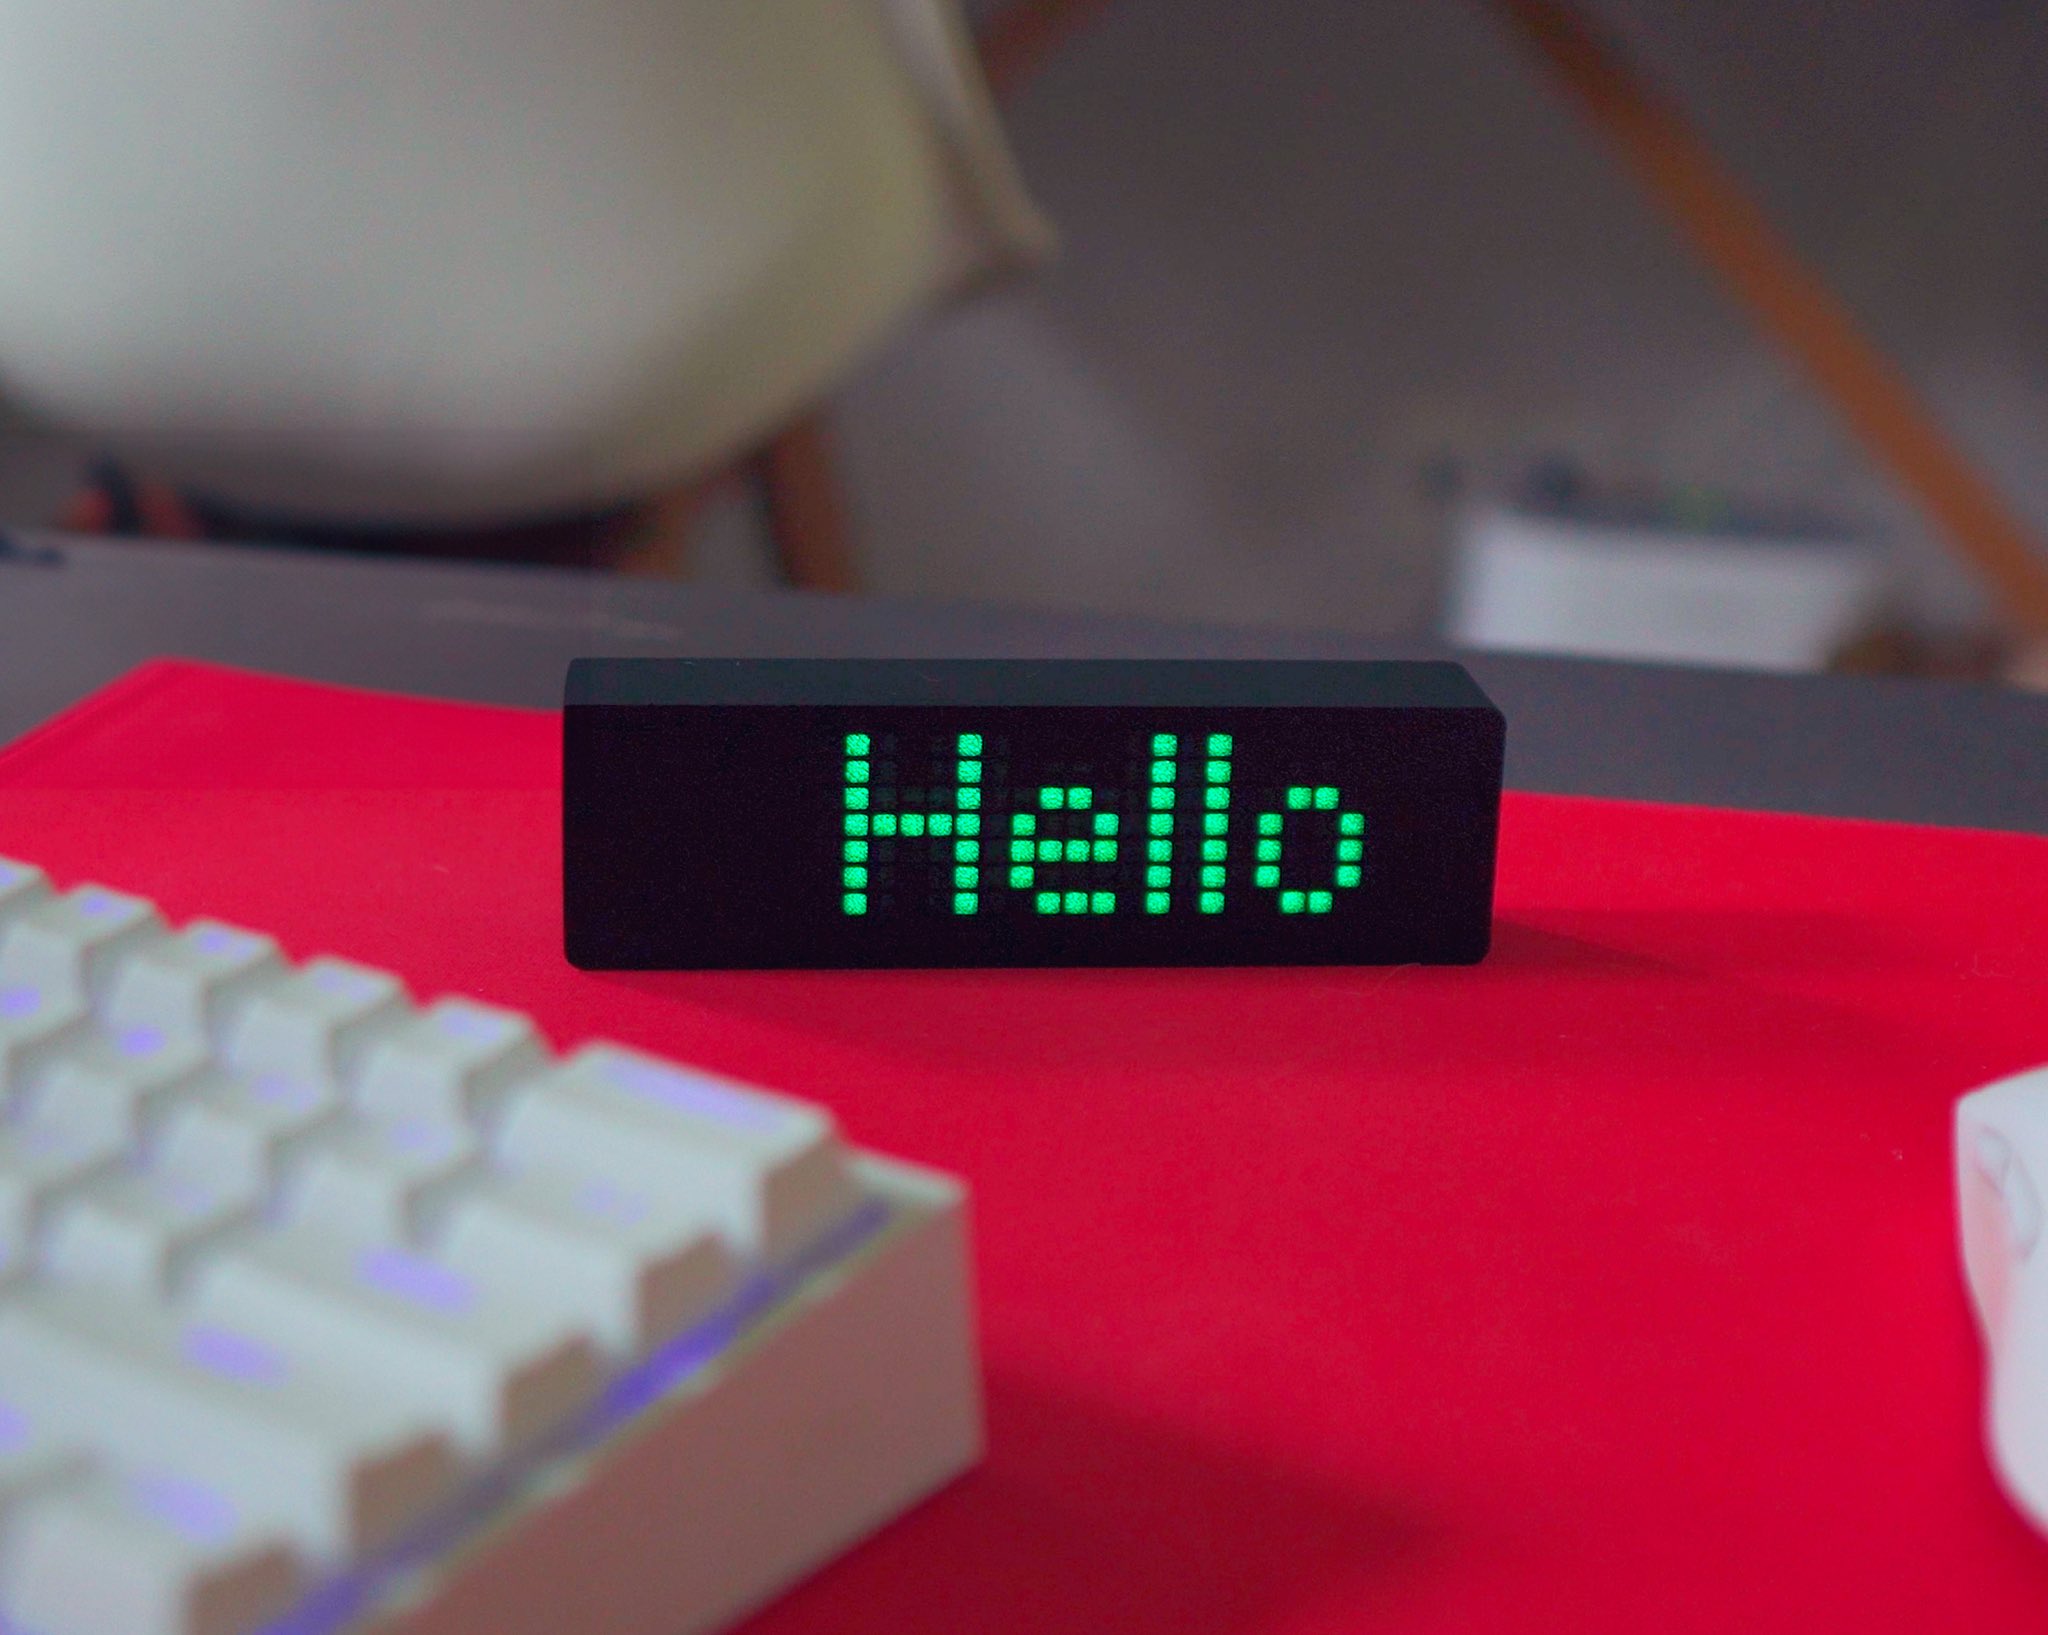
Your words
A reminder, a focus cue or a message for your desk. Just type, preview and save. No provider keys needed.
 Custom DeskHub
Self-hosted. Desk-sized.
Give your DeskHub something worth a glance.
Your words, live GitHub or weather values, and control of your DeskHub’s display modes. One web panel, running on your own network.
For an existing DeskHub device · Local / trusted private networks
{
  "content": "Hello"
}01 / The idea
Your device keeps the same /display URL. Choose what that URL returns from the panel on your server.
Start the Node.js service or a Docker container on a machine reachable from your DeskHub’s private network.
Open the web panel, pick a source and preview your draft. Save when you want it to become the active output.
Use API mode with JSON key content. Set it in the device’s interface or from our Device tab. Saved content changes are available on the next poll.
http://<server-lan-ip>:3005/displaycontent60000 msUse a host the device can reach. On the DeskHub, localhost refers to the device itself, not your server.
02 / Choose your signal
Choose one content source in Display or rotate your favourites. Settings persist across restarts, and your DeskHub uses its API mode to fetch the result.
A reminder, a focus cue or a message for your desk. Just type, preview and save. No provider keys needed.
Today’s GitHub contribution count, with repository details available as a template variable. Counts follow GitHub’s contribution rules and the UTC day. You write any accompanying text.
Current temperature for your chosen city, in Celsius or Fahrenheit. Add the city or OpenWeatherMap’s condition description through template variables.
A configurable Pomodoro with work, short and long breaks. Start, pause, resume, skip or reset from the panel; the server keeps time even when the browser is closed.
See your draft on a 32 × 7 grid of 224 LED cells, with bitmap letters, a column count and optional scroll playback. The full ASCII output stays readable below it. Preview never changes saved settings or sends content to the hardware.
Add or remove provider keys through the web panel. Keys stay on your server, encrypted at rest with AES-256-GCM and a separate local key.
Native HTML, CSS and JavaScript with Node.js and Express. The control panel supports English and Spanish, chosen from your browser’s language preferences.
Mix your own text with variables such as {{commits}} or {{temperature}}. Insert a variable, preview the message, then save. Output stays ASCII-compatible.
03 / Your workspace
Four tabs keep content, provider keys, focus sessions and hardware settings easy to find. Switching tabs preserves your unsaved fields, with visible pending-change indicators.
Choose text, GitHub, weather or Pomodoro, individually or in rotation. Generate a draft preview and save the source served at /display.
Save, replace or remove GitHub and OpenWeatherMap keys. Provider shortcuts help you get a key; saved keys are never shown again.
Set work and break durations, automatic starts and a countdown format. Control the persistent timer and track completed sessions. Choose a 1000 ms device fetch interval yourself to see seconds advance.
Save the hardware’s local IP, check connectivity and apply one of its four built-in display modes, with the options for that mode.
In Display, choose GitHub or weather and edit Message format. Variable buttons insert at the cursor; preview the result before saving.
Today I made {{commits}} commits. Keep going!Available variables: {{commits}}, {{repositories}} and {{username}}.
The default is {{commits}}, producing just 7, for example. Add {{repositories}} for repository names and counts. All wording comes from your template.
In {{city}}: {{temperature}} {{unit}} - {{condition}}Available variables: {{city}}, {{temperature}}, {{unit}} and {{condition}}.
The default is {{temperature}} {{unit}}, producing 23 C, for example. Temperature is rounded, units are C or F, and the optional condition is OpenWeatherMap's description, such as clear sky.
Each source keeps its own format, up to 2048 characters. The backend adds no wording or summaries. Reset format restores the source's default in the draft. An empty format produces empty output. Unknown variables are rejected and final text is normalized to printable ASCII.
Older formats using only {{content}} load as the new defaults. Inside custom formats, this legacy variable inserts only the commit count or rounded temperature; your literal text is preserved.
The LED grid has 32 columns and 7 rows. Its proportional bitmap font matches the official “Hello” example and is clipped to seven rows, which can crop descenders and symbols. Text does not wrap or shrink to fit. Play, pause or scrub the scroll simulation to inspect longer messages. Font, alignment and timing remain a simulation rather than a pixel-for-pixel verified firmware replica; preview controls do not change the device’s scroll setting.
Message format referenceEnable Rotate sources and select at least two sources. The order is Text → GitHub → Weather → Pomodoro, with unchecked sources skipped. Pomodoro keeps counting while another source is displayed.
Every source gets the same duration: the last fetch interval applied from Device, or 60 seconds by default. There are no separate timers to configure. Changes made directly in the hardware’s interface cannot be detected.
The device stays in API mode. Unavailable sources are skipped and reported in the panel; if none can render, the response is an error. Rotation follows the server clock, so extra requests do not advance it. The physical display changes on its next poll.
Source rotation reference04 / The hardware, too
Optionally link your DeskHub by its private IPv4 address. The server must be able to reach the device over HTTP on port 80.
Set a GitHub username for the firmware’s own GitHub integration.
Set the URL, JSON key and fetch interval. Enable or disable scrolling for long messages.
Choose Pacman or a progress bar. Set work and rest durations from 1–240 minutes, and 1–10 loops.
Enter an X username without @. The firmware notes that the first fetch may take 15–20 seconds.
Open Device, enter the DeskHub’s private IP without http://, then select Save IP. This only saves the address on your server.
Check connection reads the firmware form to check compatibility. Select a mode and fill in its options. In API mode, Use this panel helps fill the URL, key and interval.
Send the complete display configuration. This overwrites the device’s display settings, including retained values for inactive modes. Wi-Fi settings are separate and are never submitted.
Text, custom GitHub messages, weather and Pomodoro from this panel all use the hardware’s API mode. Native GitHub and X modes use the firmware’s integrations, independently of the keys saved here.
The inspected firmware does not expose saved settings. This form starts with defaults or the last acknowledged submission from this panel, not a live reading. Changing the saved IP resets the remembered configuration.
Opening this panel does not contact the device. Checking the connection reads its form; applying sends the settings. Clear the saved IP to unlink. Content changes in Display remain available through normal polling.
Acknowledgement means the device accepted the HTTP submission, not that its display or persistence was verified. If the response is lost, the result is unconfirmed and the submission is not retried automatically. Check the hardware before sending again.
05 / Make it yours
Clone or download the repository, then run these commands from its directory.
Install the locked dependencies and start the server.
npm ci
npm startStartup loads .env. Keep PORT and LOCALHOST configured; the supplied template uses port 3005.
With OrbStack installed, build and start the local container.
./run_dev.shThe helper uses .env-dev, persists data in ./data-dev and waits for a healthy service. Run it again to rebuild after source changes.
06 / A home on your network
This is the project’s static documentation site. GitHub Pages serves this page; it does not run the Express backend or control your device. The application needs your own running server.
Private-server deployment guideThere is no login. Anyone who can reach the server can change content, manage integrations and configure a linked device. Keep it on a trusted LAN or private VPN, without public tunnels or router port forwarding. CSRF protection is not access control.
Back up the entire persistent data directory: source settings in data.json (or your configured filename), device metadata in device.json, and both credentials.json and credentials.key. Both credential files are needed to restore keys; someone who can read both can decrypt them.
Production Compose uses a published image, which may lag local source changes. Follow the deployment guide to build from source when needed, and check migration notes before replacing an older container.
Small screen. Open source.